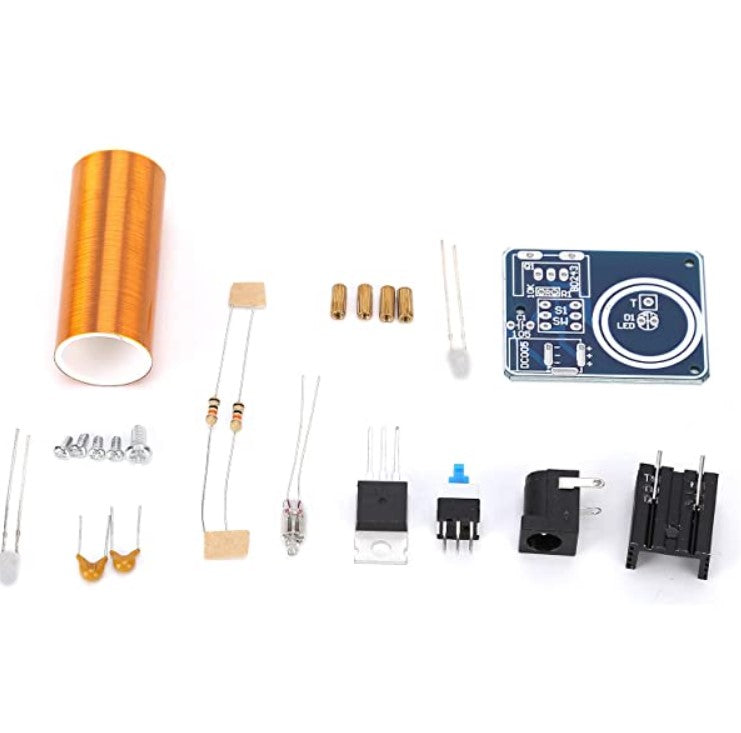
Mini Tesla Coil Kit - DIY.
Now, this is a super fun project. For starters, you will be able to light up the little light bulb that is included in the kit by just bringing it near the coil. It also works with energy saver light bulbs. Wireless Tesla energy!
A Tesla coil is a transformer (resonant transformer) that operates on the principle of resonance. It can produce high-temperature and high-pressure plasma and ignite, wirelessly transmit electricity, and illuminate fluorescent lamps.
It has a wonderful arc and is used for many fun and very interesting scientific experiments.
This product is newly developed. The primary coil is already in the PCB board. It does not need to be wound on the outside. It is convenient for
anyone to build, high efficiency, and beautiful. It is a new design.
This is a DIY Tesla Coil Kit, it needs to be soldered and assembled by yourself.
water pliers, etc.
Mini Tesla Coil Kit - DIY Specification:
Input voltage: 9-12V, can be started with 9V battery, but if there is an
arc, the working voltage needs 12V.
Tesla Assembly Guide:
- R - 47k Ohm (Yellow, Violet, Black, Red, Brown or Yellow, Violet, Orange, Gold)
- C - 100nF Ceramic Cap (marked as 104)
- BT - DC Connector
- LED - LED, keep in mind that the polarity of the LED outline is correct the negative of the LED should be pointing to the DC connector.
- SW - Button switch
- Q1 - BD243C Remember to attach the heatsink before soldering
- L2 - The one end of the long coil is connected here, the other end is left hanging in the air. Remember to strip the enamel off of the wire before soldering
- L1 - The thicker wire is connected here wrapped around the long coil 2 times in a clockwise rotation.
Here is a How-To video from one of our clients See.Learn.Build.Repeat.
